
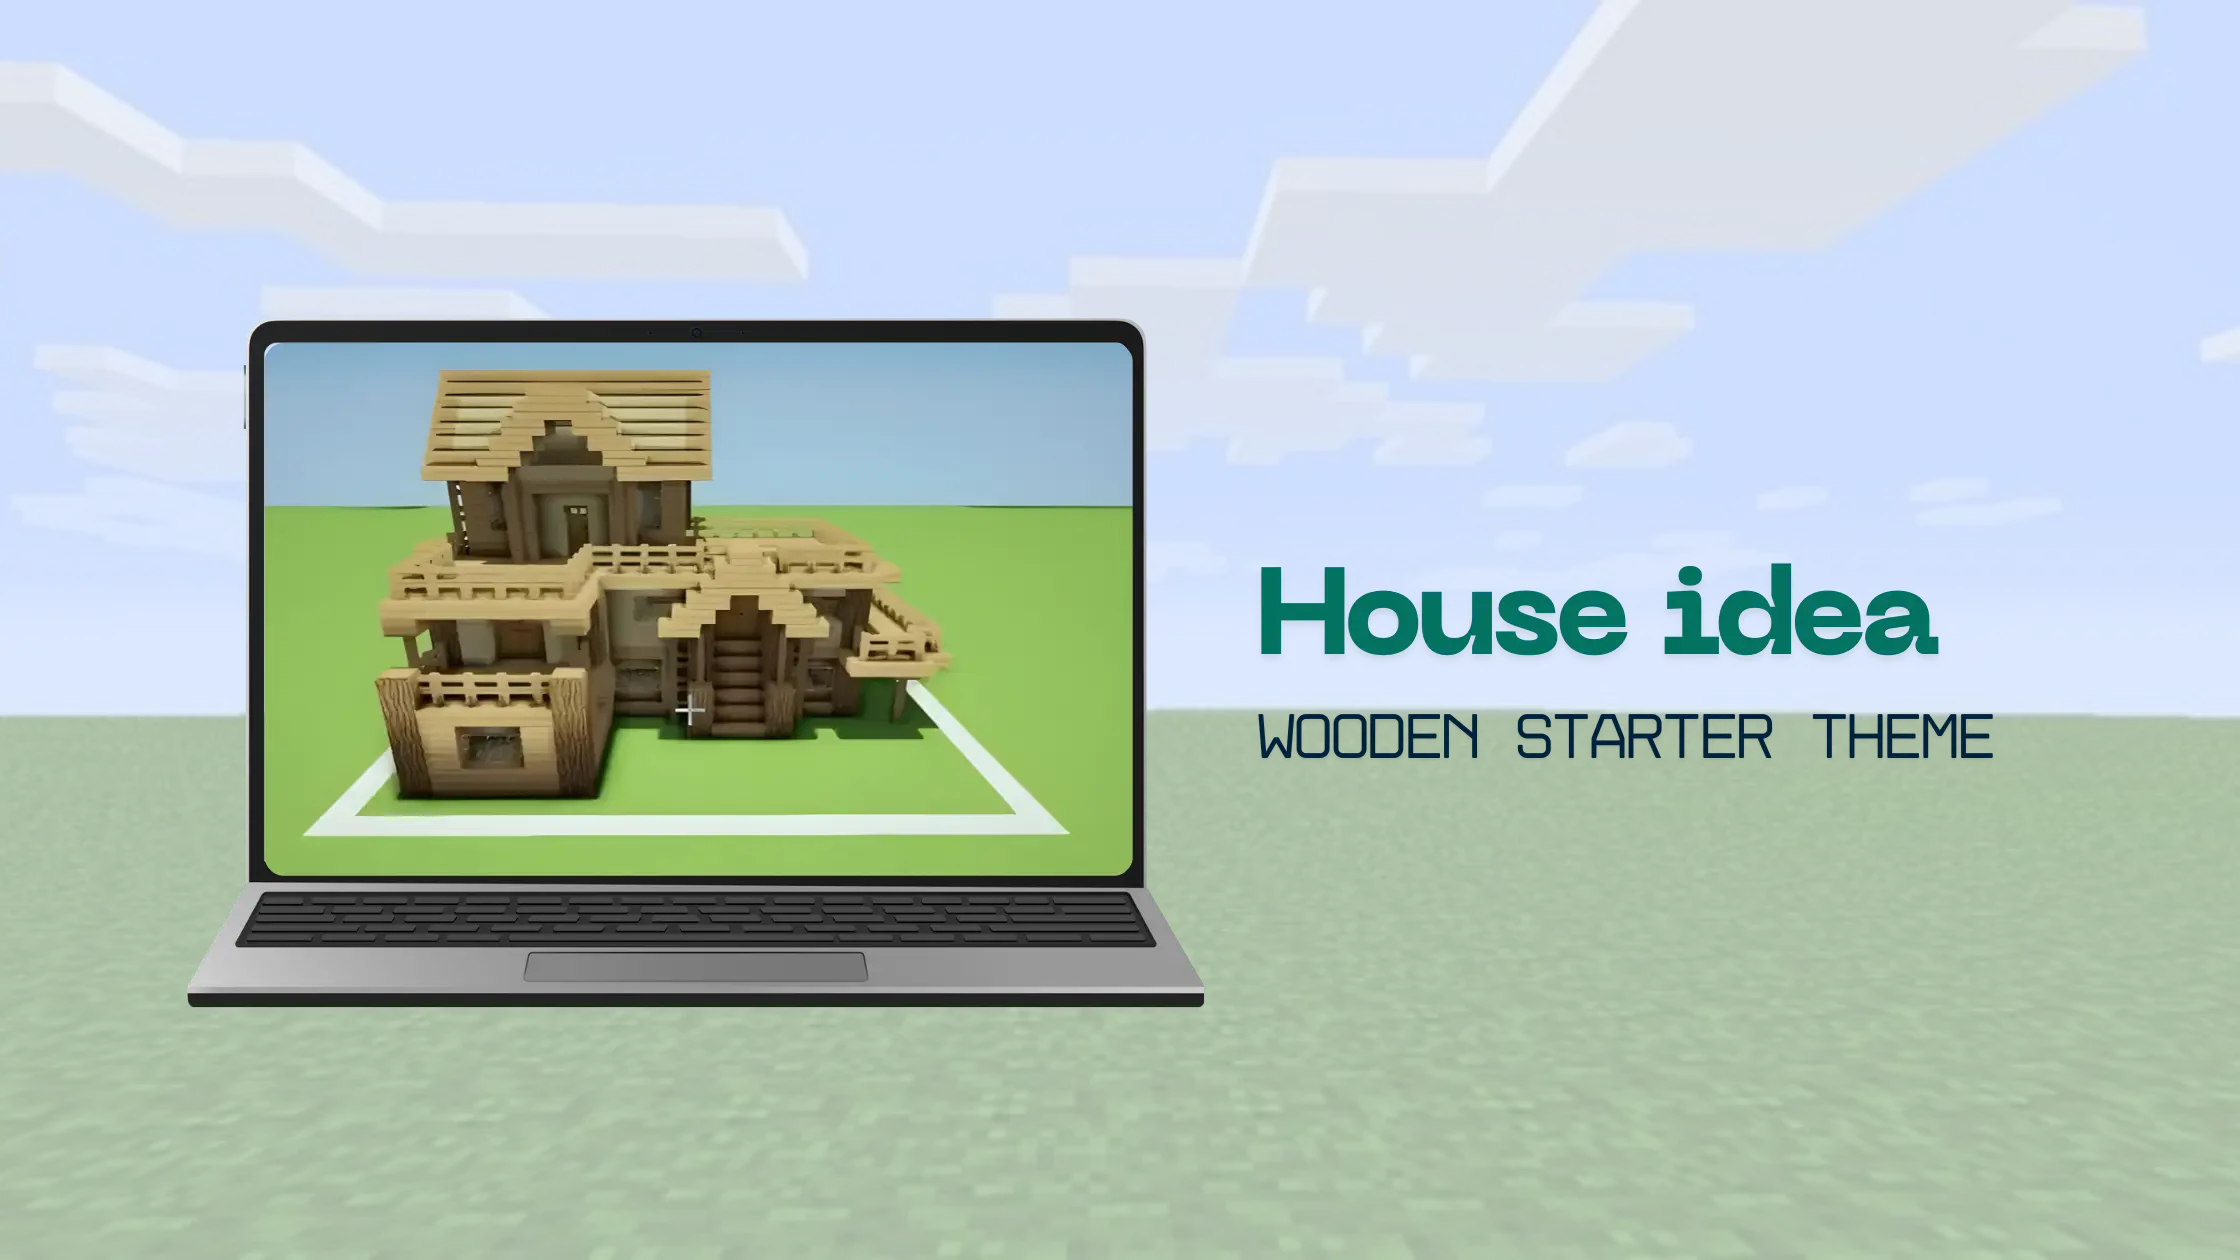
When you start your Minecraft journey, the thing you want is a house, but you don’t have resources except wood. Now you want it stylish and valuable at the same time, as it would be your base for a long time, and only the planks and Cobblestone are here. Now you need a wooden house which suits your needs and wants, and an idea for you is :
Material Needed:
- 60 Oak Wood Blocks
- 197 Oak Wood Planks (about 3 1/2 stacks)
- 106 Oak Wood Stairs (2 1/2 stacks)
- 251 Oak Wood Slabs (4 1/2 stacks)
- 120 Fence (2 stacks)
- 2 Pressure Plates
- 21 Trapdoors
- 8 Doors
- 92 Birch Wood Planks (1 1/2 stacks)
- 231 Birch Wood Slabs (4 stacks)
- 49 Birch Wood Stairs
- 59 Glass Panes
- 5 Cobblestone Blocks
- 5 Dirt Blocks
- 6 Grass Blocks
- 20 Oak Leaves
Best location for your House
Remember that you should consider the location of your house based on several factors. Firstly, it needs to be near a forest so you can always get plenty of wood, which is a basic necessity for almost anything. Secondly, you should try to be near a village so that you can make a library near it, which will help get overkill enchantments, which will be very important if you are going to the END.
Lastly, it might be risky but worth it if your house is near mines or mountains (commonly have caves inside), so that you can find diamonds and other precious metals near your doorstep, and you don’t get lost.
How To Make It? (Video Tutorial)
You can watch the easiest tutorial for building a wooden starter house in Minecraft PE below!

Highlights of the video (Text Tutorial)
First, we need to dig a rectangle one block in dirt: 18 blocks straight and 20 blocks wide.
- Make the first wall, placing the oak wood blocks & planks.
- Then create the wide wall with the window-like structure.
- Following, create the front walls.
- Further, you have to create a stair entrance.
- Now create the next wide wall.
- The second floor’s base is now to be created.
- Complete the walls.
- Now, the third and final floor, the roof.
- Make a small house on the roof.
- Complete the structure.
- The decorations with the fence.
- Finally, the decorations include bushes, cobblestones, and grass.
- Your house is ready, sir.
Dos and Don’ts
- Try to place a torchlight every seven blocks to prevent the mobs from spawning.
- Make sure to have all your essentials, such as a chest, crafting table, bed, and a furnace, to have access to all the protective armour and food in case you are fighting with mobs such as creepers or skeletons.
- Try to place torch lights and a fence around the house to prevent creepers from blasting and destroying your beautiful home.
- Make sure that you have a load stone in your house, so that in case you are lost, you can locate your house’s coordinates with the help of a compass!
- Try to place your bed in the middle of the house if possible so that mobs can’t interrupt your sleep.
- Make sure you have an organized structure for chests or stuff from the very start.
- Make a small compartment near your house to grow wheat or breed animals for an unlimited supply of food at your doorstep!
What you can add ?
After making the house, you would be thinking it is uncomplete without an finishing touch, for which you again need ideas :
- You can make an underground base with a large storage capacity.
- You can add a farm with two floors, on the right side of the house.
- You can make a small area, grow a tree in it and grow some flowers in it.
- You can make a small path forward to the stairs with digging the mud, and add the cobblestones on its place.
- You can connect your balcony with another building which could be your workshop where all your materials are placed in chests, and the crafting tables are placed.
- You can add a tower with small spaces but floors 4, all connected with stairs, for getting a up view. Here you can place the sign boards or banners.
- You can make a sky room with firstly bridging up yourselves make the room, then add ladders on the blocks your bridged on. Using glass and black or grey blocks, whichever you could find. Here you can place a bed and an armour stand.
Conclusion
The Wooden Starter house is designed to be created at a time when you don’t have many resources, and plenty of wood. Using creativity and watching the tutorial, we can easily make our houses look good and be full of storage. Now you can live in your house, and place everything you want here and its your own creativity to add and personalize it.
For more house ideas, you can visit our site and get the specific information, tutorial and list of the materials you would need, and be wise in building a house whether a wooden for starting or a mansion of your own imagination.
Thanks.